Workflows
Create Images
When to use: Generate a completely new image from scratch using AI.
Steps:
Available Modes:
Example Prompt:
A woman lounging on a couch at home, casually scrolling through her phone, wearing a cozy black cardigan, natural lighting from a nearby lamp, candid and relatable moment
Good vs Bad:
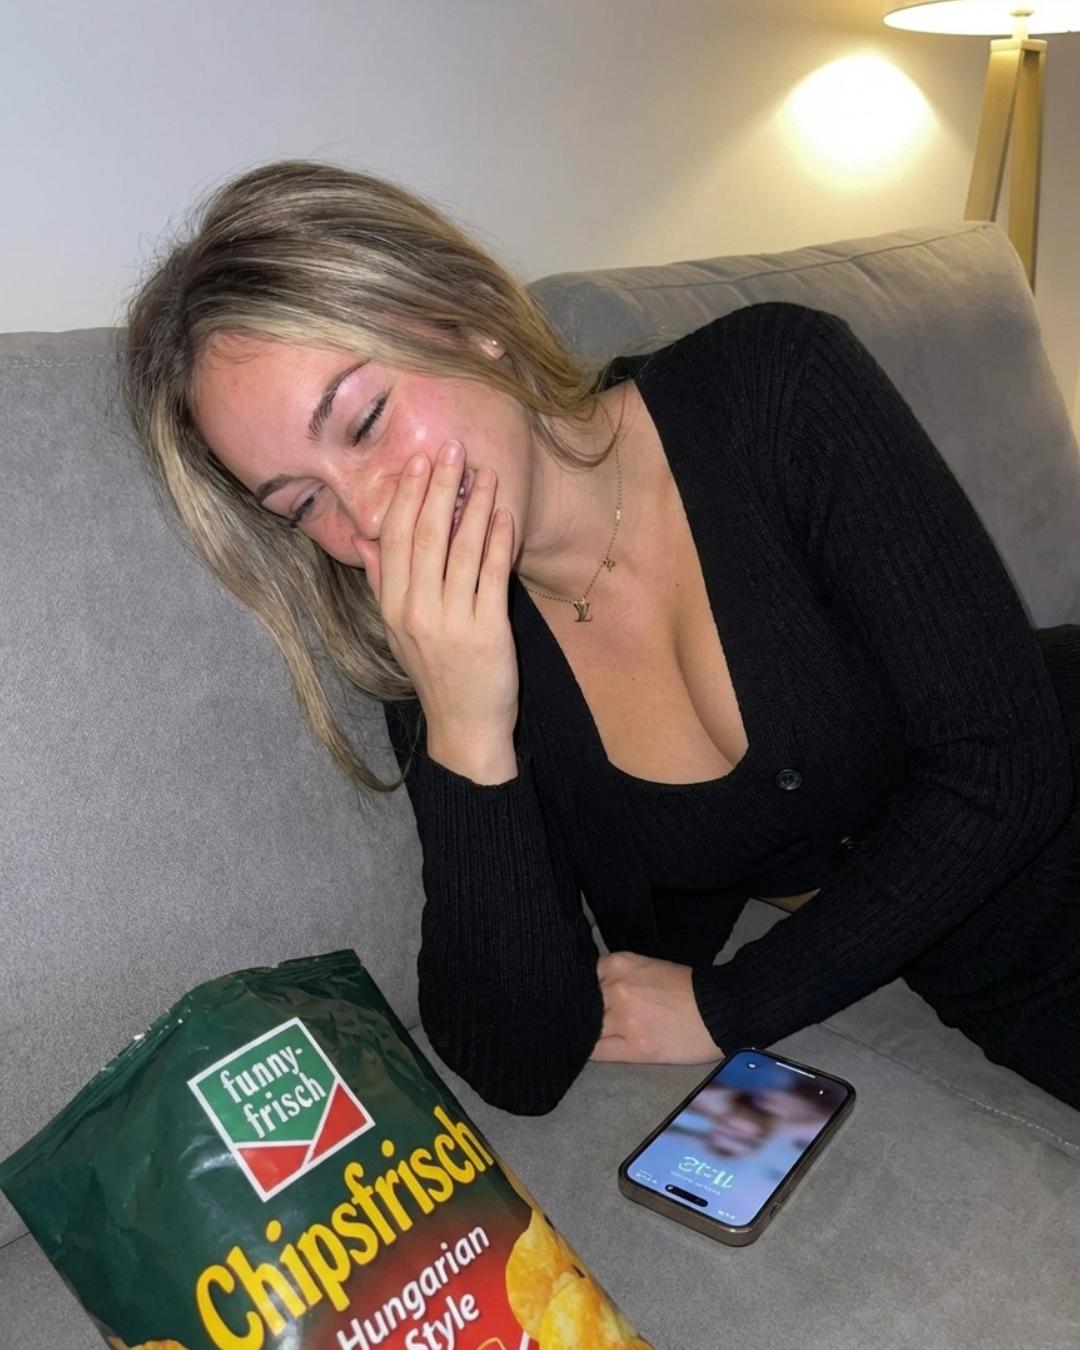
Natural, relatable, good lighting
Generic "AI look", too perfect, no personality
Edit Images
When to use: Edit an existing image to make changes that Restrictive mode won't allow, or create slideshows.
The Hack: Best of Both Worlds
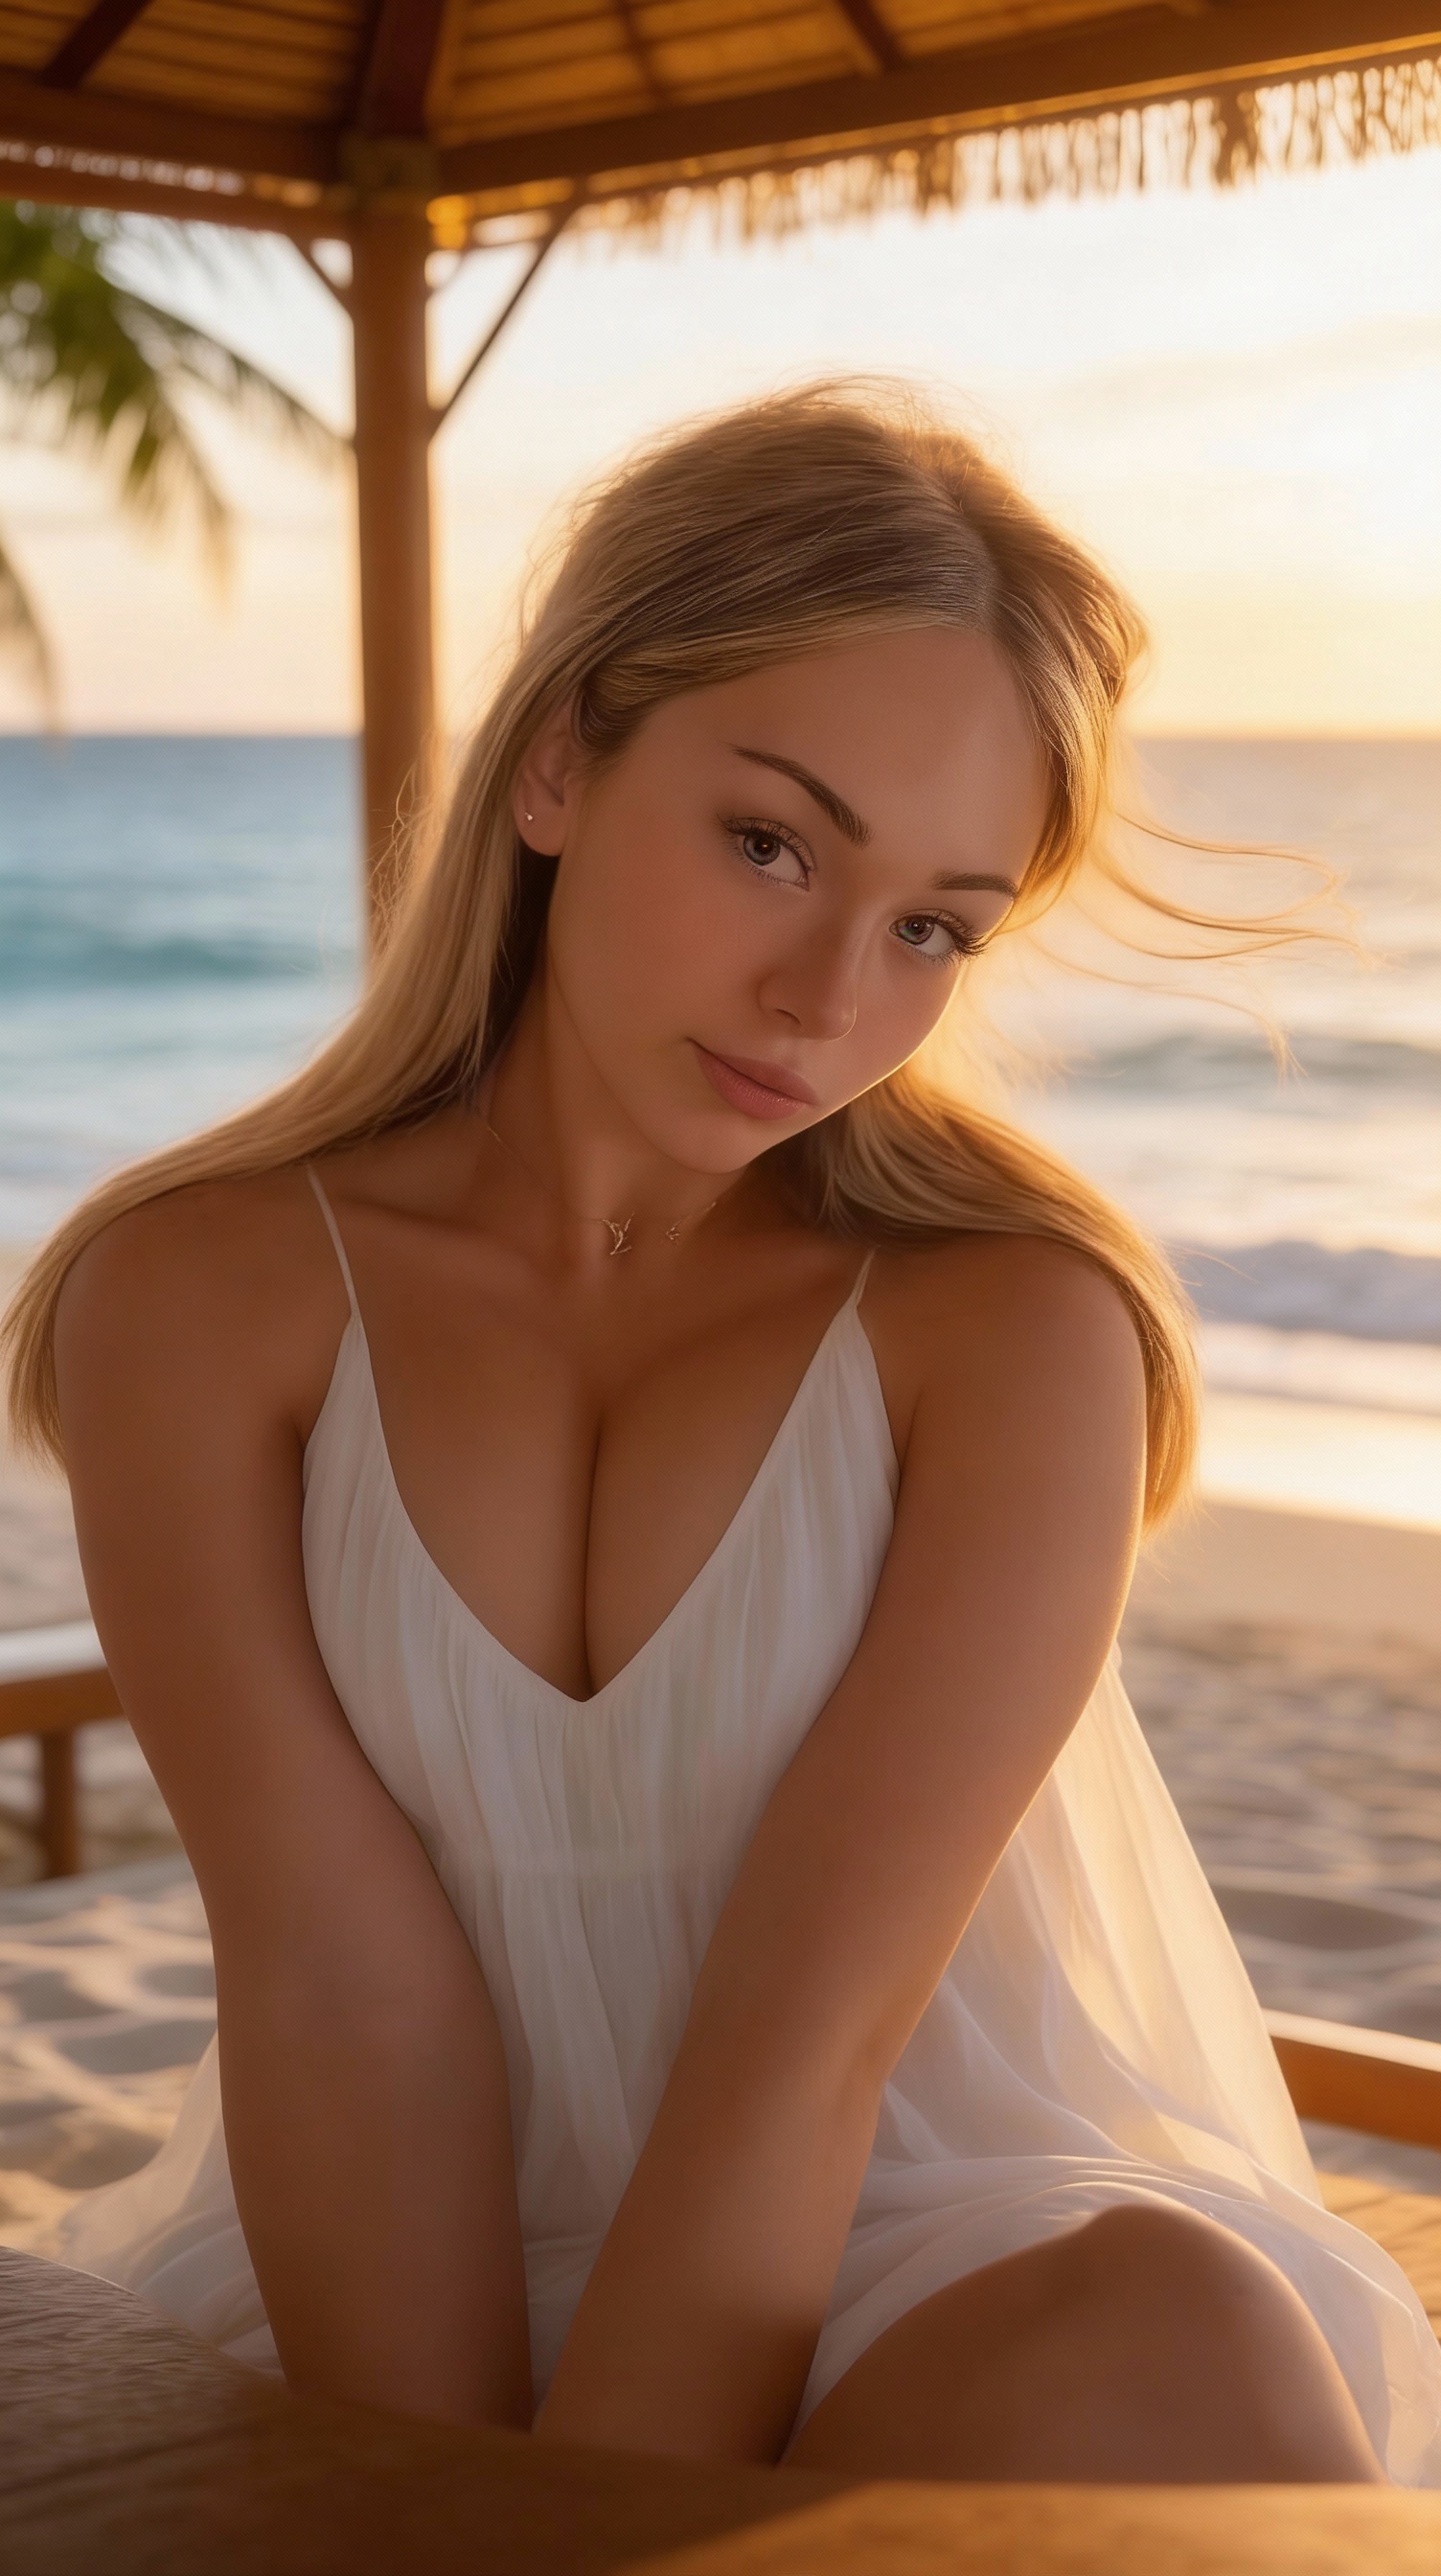
Start with Nano Banana (Restrictive) for the best base quality, then use Edit with Seedream (Less Restrictive) to make it more sexy - without losing quality.
Steps:
Example Edit Prompts:
Tip: Be specific about what to change and what to keep.
Before / After:
Bonus Use Case: Easy Slideshows
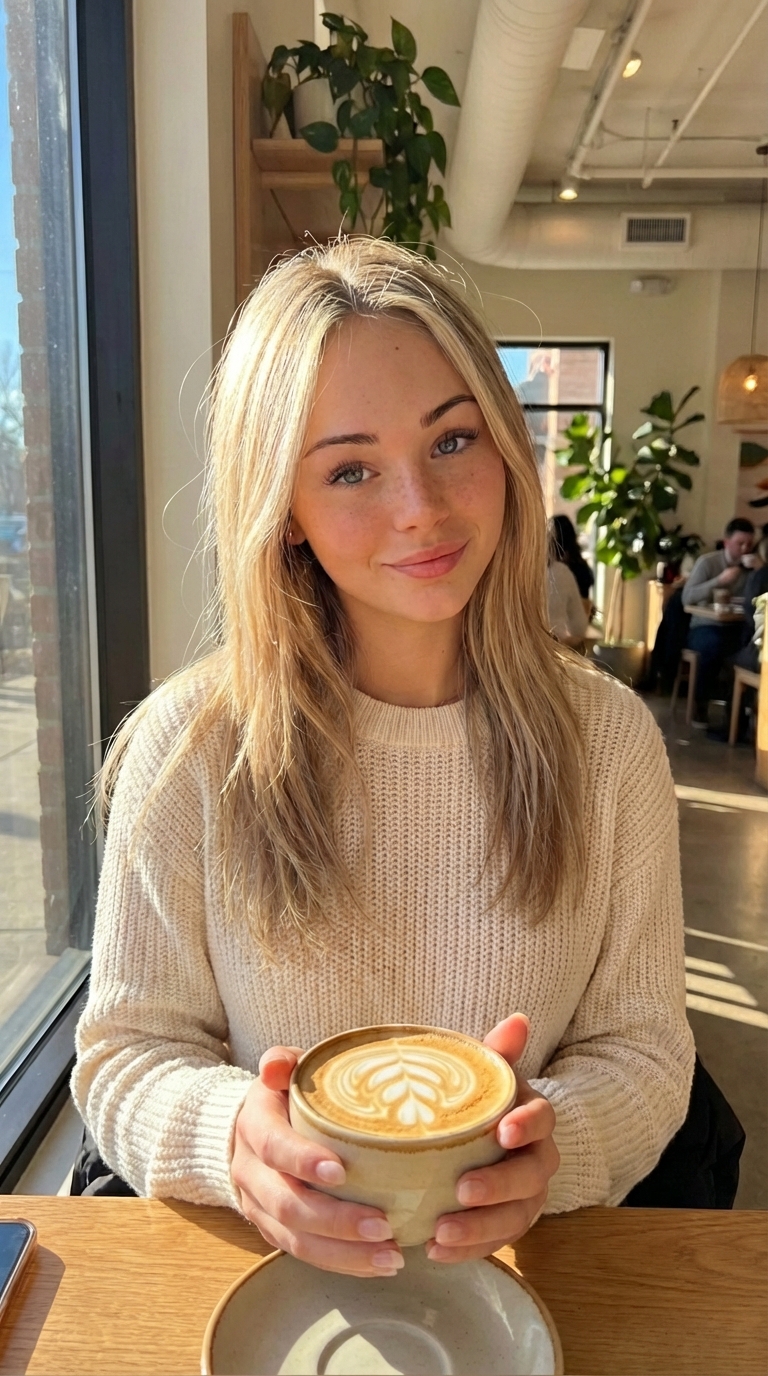
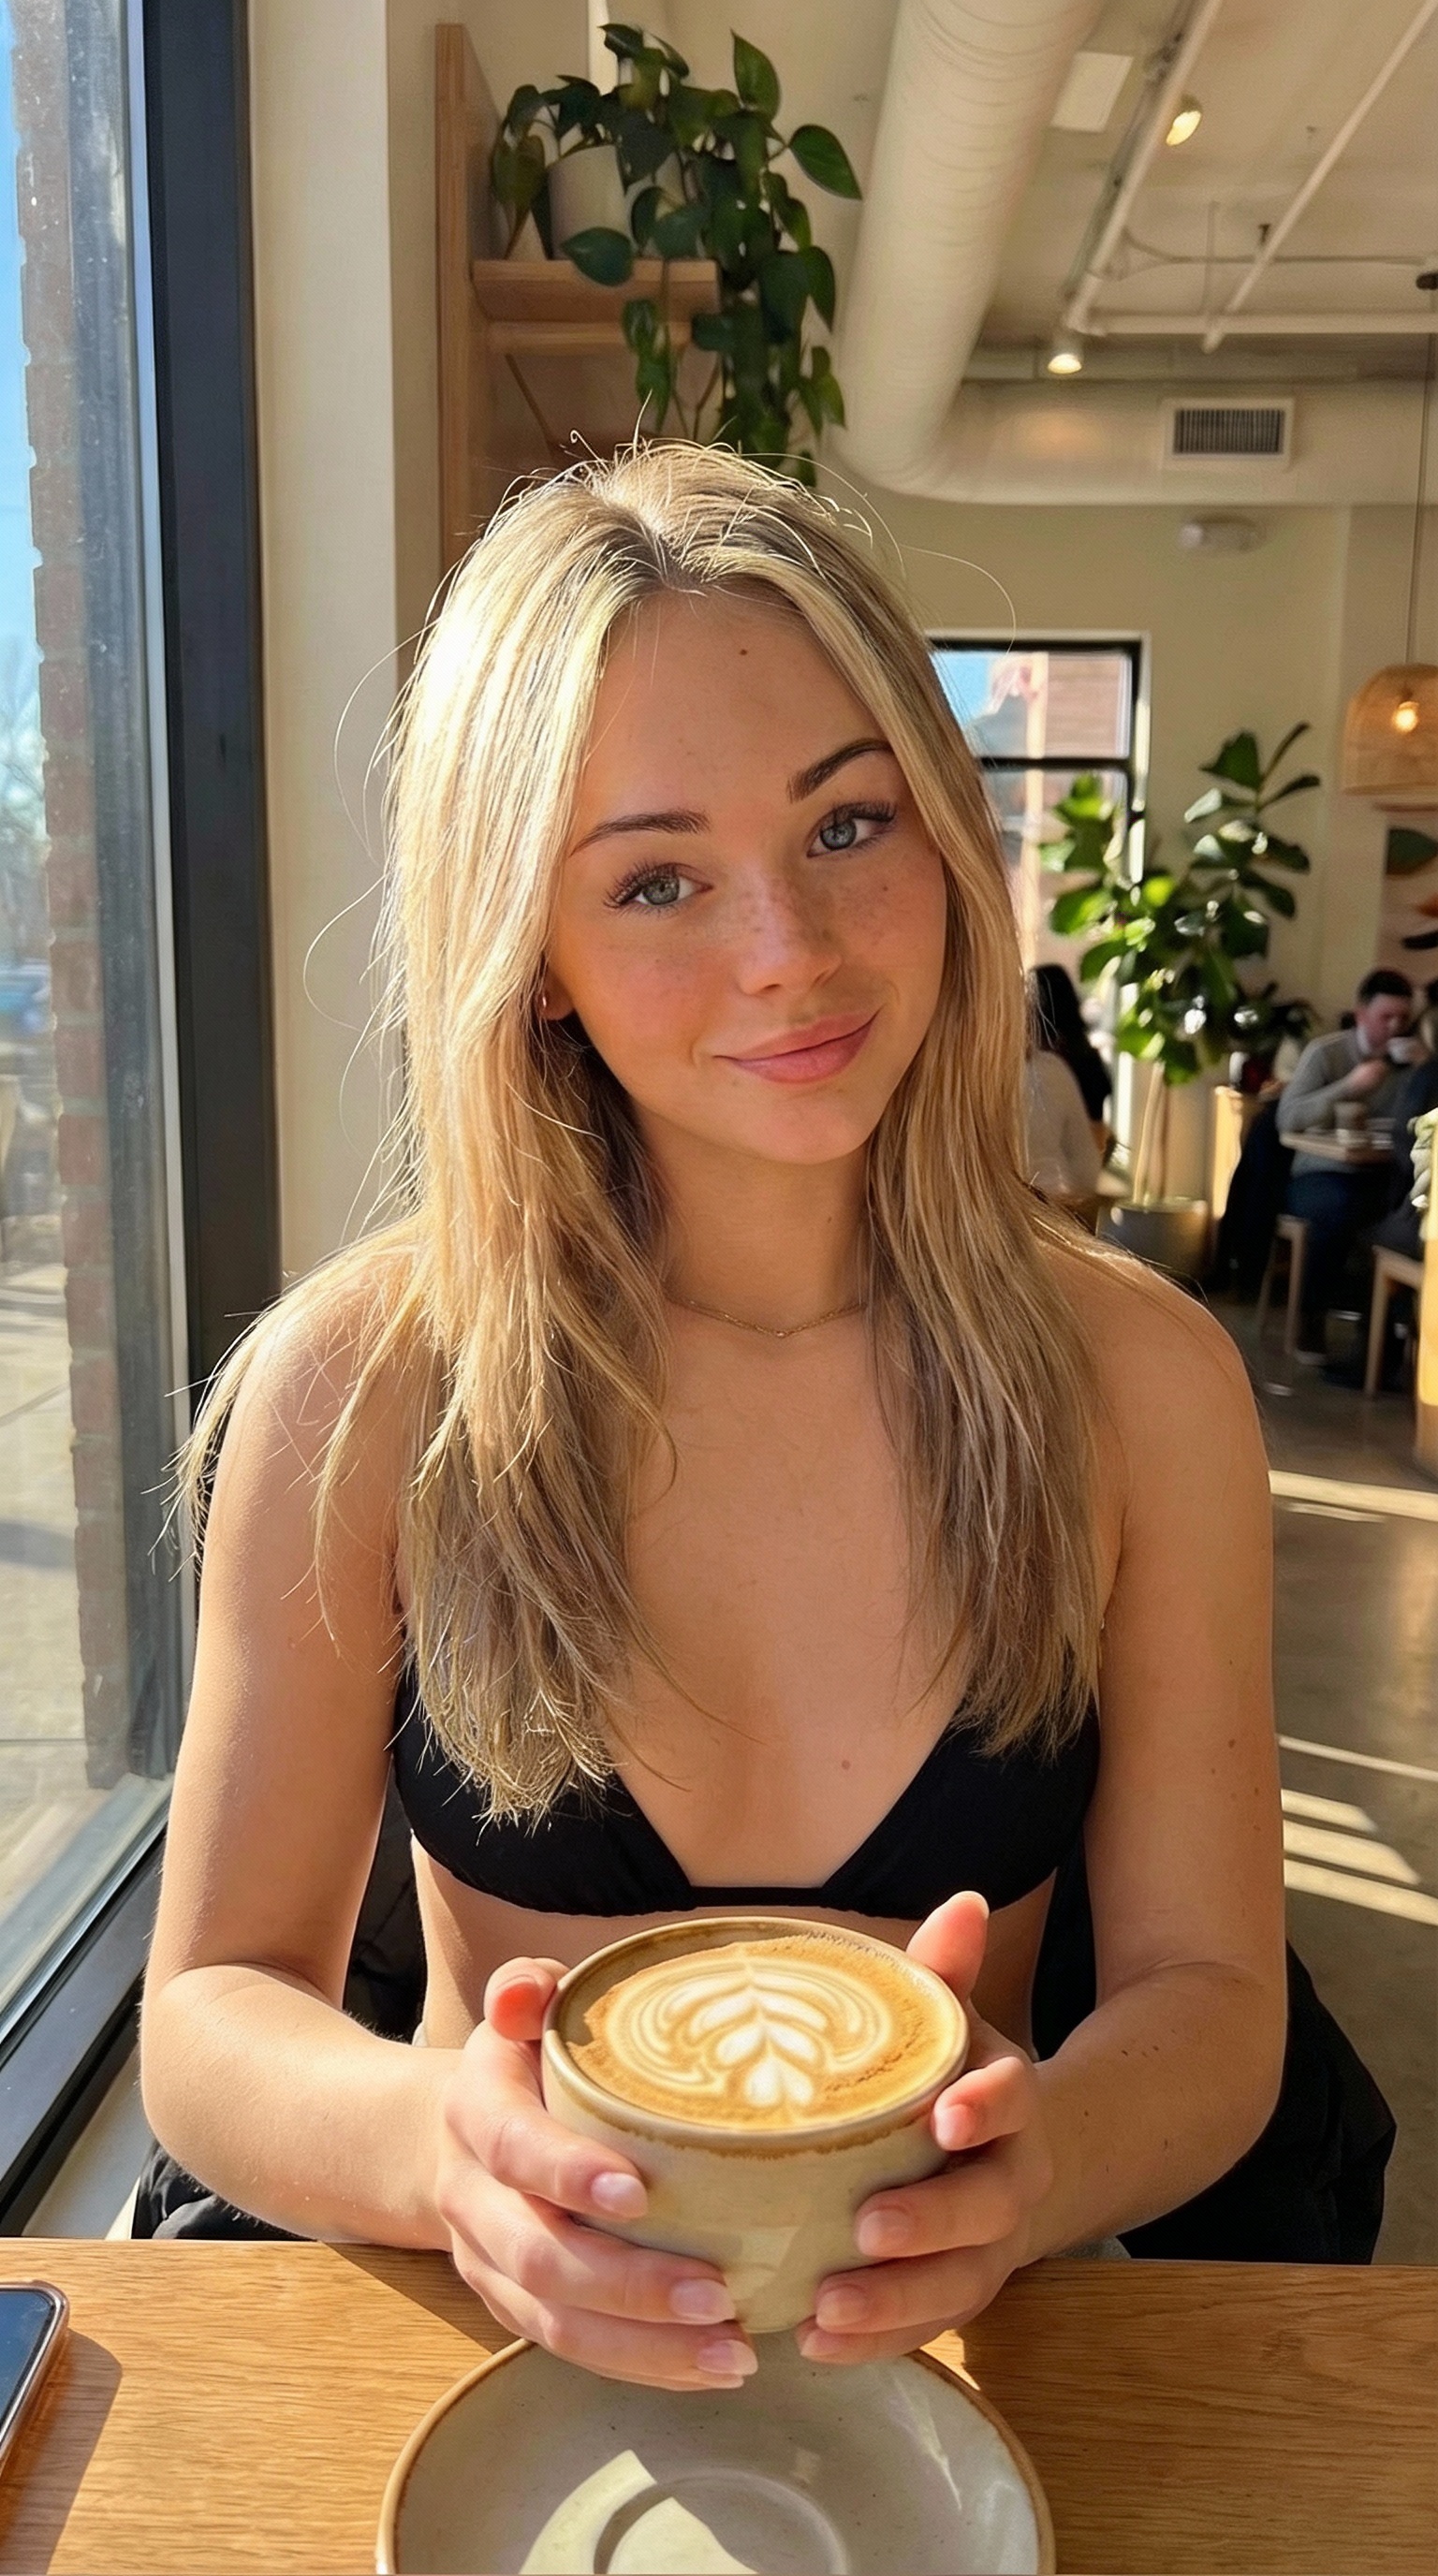
Use Edit to create multiple variations of the same image for Instagram slideshows. Same scene, different poses!
 Slide 1
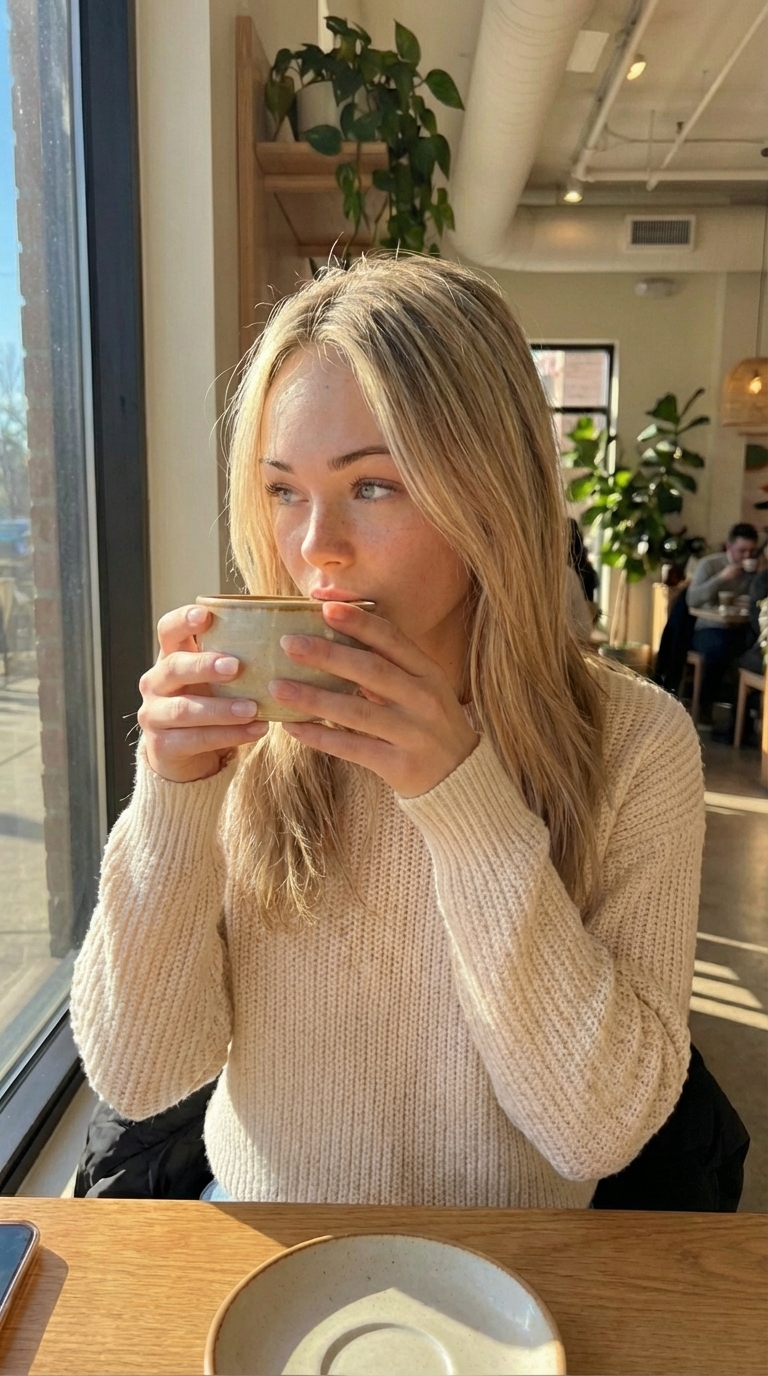 Slide 2
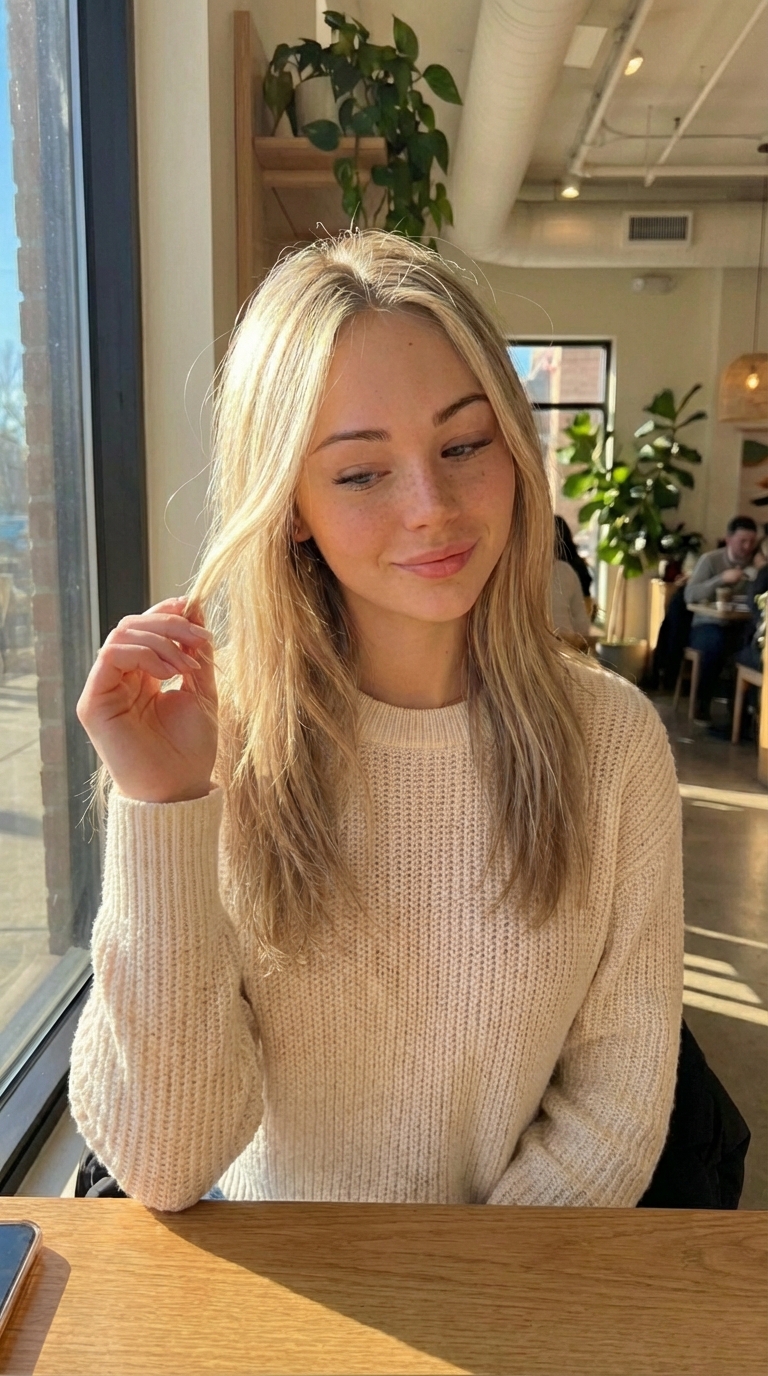 Slide 3
Prompt examples: "She's drinking her coffee", "She's playing with her hair"
Clone Images
When to use: Put your character into a scene from a reference image (same pose, same vibe, your character).
Steps:
Example Prompts:
while Keeping the person exactly as shown in the reference image 1 with 100% identical facial features and face shape, recreate image 2 using the person from image 1
recreate image 2 while keeping face and character identity from image 1
Image 1 = your character's face, Image 2 = the scene/pose you want to recreate
Original / Clone Result:
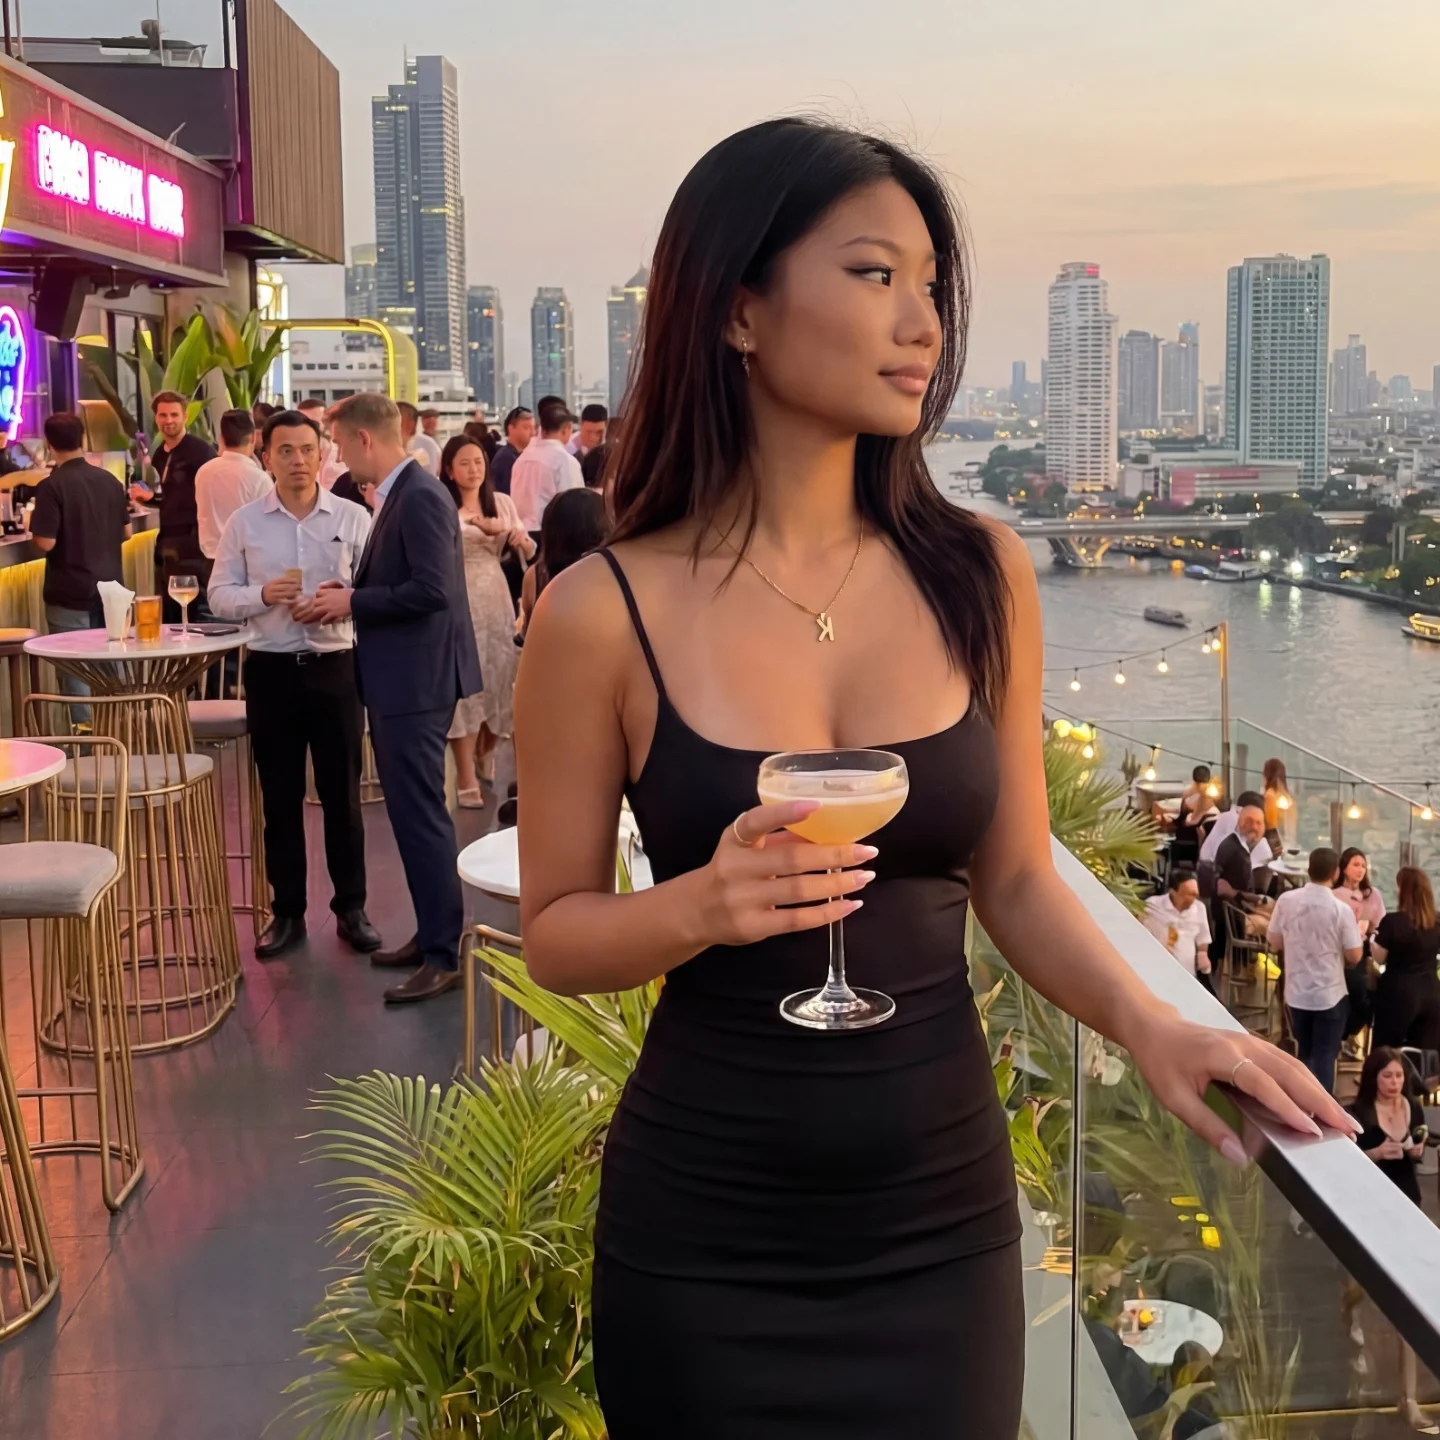
Found on Instagram/Explore
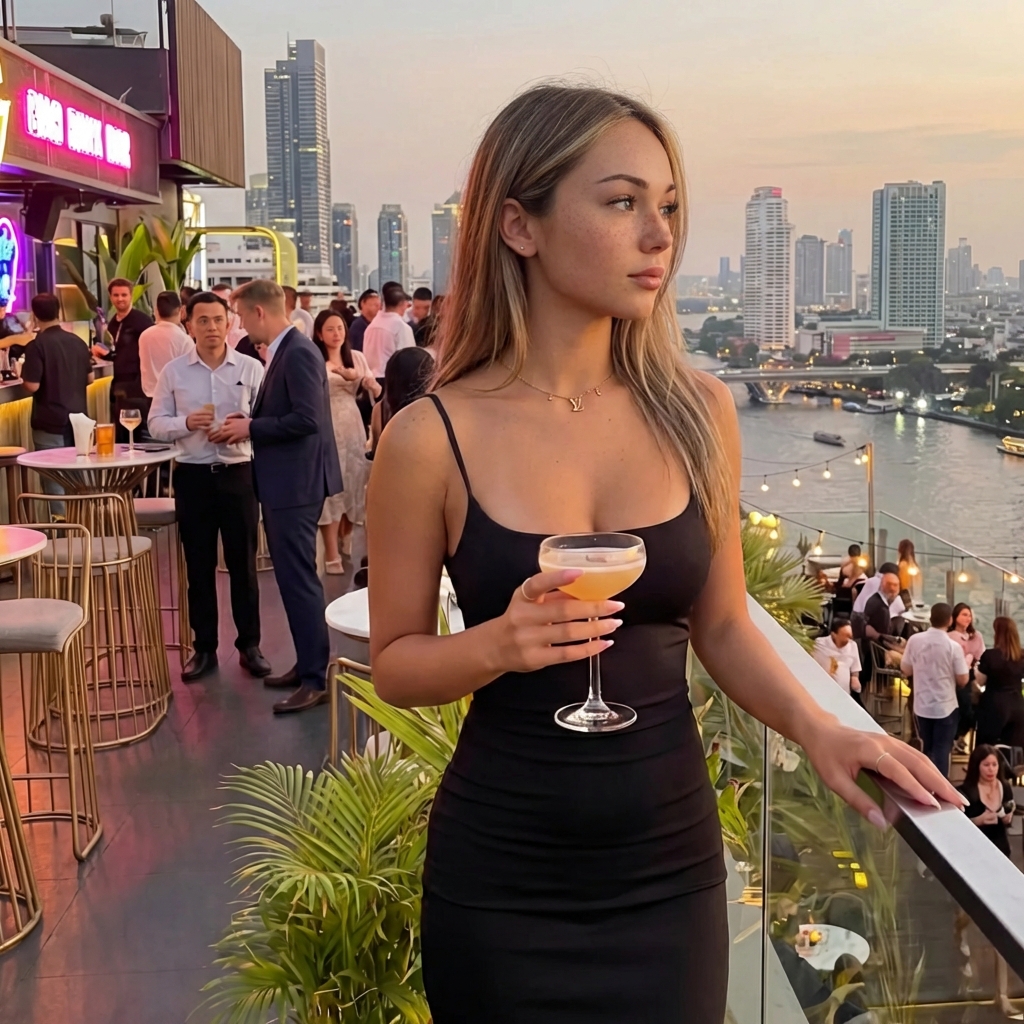
Same scene, your character
Remix Images
When to use: Add specific items (clothes, objects) from reference images to your character.
Steps:
Example Prompts:
Tip: Reference items by image number (image 2, image 3, etc.)
Items + Result:

Image to Video (Kling / Grok)
When to use: Animate a still image into a video without voice/speech.
Steps:
Kling
- + Better prompt adherence
- + 5 or 10 second options
- + CFG Scale for more control
- - Often slow-mo / unnatural
- Tip: Speed up to 1.2x in editing
Grok
- + More natural movements
- + Can generate sexy content
- - Less prompt adherence
- - More creative/unpredictable
- Tip: Good prompts + some luck needed
Example Prompt:
she is opening her jacket
Source Image + Results:

Clone Reels
When to use: Recreate a viral reel with your own character.
Important: Start Image is Everything!
First, clone the thumbnail/start frame with your character using Image to Image Fast. The cloned image must be very close to the original - if the start image is bad, the video will be bad!
Steps:
Standard (Warn Animated)
- + Good when person is farther away
- + More stable results
Motion
Most Used- + Best when person is close up
- + Great for facial emotions
- + Handles fast movements well
Warning: Multiple Scenes
If the original reel has multiple scenes or generic shots, you need to cut it first! Clone Reel works best with single continuous shots.
Prompt:
Good vs Bad:
Good start image = good result
Video too complex = AI artifacts
Image to Video with Voice (Infinitetalk I2V)
When to use: Create a talking video from an image with lip-sync and audio.
How it works
This is essentially an Image-to-Video workflow. You can control expressions and movements via the prompt!
Steps:
Prompt (Optional):
Example: Original → Cloned Image → Result
Add Voice to Video (Infinitetalk V2V)
When to use: Add lip-synced voice to an existing video.
Best Results
- + Person looking frontal into the camera
- + Close-up shots work best
Important: Kling Audio
When you add a Kling video to Infinite Talk, the original Kling audio is removed. If you want to keep background sounds, export the Kling audio first and merge it with your voice audio before uploading.